

Flask

Course Lessons
| S.No | Lesson Title |
|---|---|
| 1 | Introduction |
| 1.1 | What is Model Deployment? |
| 1.2 | What is Flask? |
| 1.3 | Installing Flask on your Machine |
| 2 | Implementation |
| 2.1 | Importing Libraries |
| 2.2 | Importing Dataset |
| 2.3 | Label Encoding |
| 2.4 | Model |
| 2.5 | Saving |
| 2.6 | Template |
| 2.7 | Flask Deployment |
| 3 | Conclusion |
Introduction
We are all interested in solving the real-life, challenging problem with machine learning and deep learning, but most of the time our solution will remain in terms of code, which most of the time the end-users will not understand or may feel difficult to use. This is where the flask comes into the picture. Flask will provide a way to embed an ML model into the Web Application.
What is Model Deployment?
Generally, in any data science project, we begin with defining the problem statement, followed by data collection, data preparation, exploratory data analysis, and model building by choosing an appropriate algorithm. Finally, we want our model to be available for the end-users so that they can make use of it. Deploying the model is the last stage of any data science project.
What is Flask?
Flask is a web application framework which is written in python. It has many modules in it which makes it easier for a web developer to make an application, without worrying much about the details such as protocol management etc. Flask gives a variety of choices for developing web applications and it gives us the necessary tools and libraries that allow us to build a web application.

Installing Flask on your Machine
Installing Flask is simple and straightforward. Here, I am assuming you already have Python 3 and pip installed. To install Flask, you need to run the following command:
sudo apt-get install python3-flask
Now we can start deploying our machine learning models using flask.
Implementation
Let us now create a Body Mass Index calculator using Flask.
Importing Libraries
We will first create a machine learning model which will be able to calculate BMI using Height, Weight and Gender and then we will deploy that model using flask.
#Here we are importing the libraries that we need for this project
import numpy as np
import pandas as pd
import matplotlib.pyplot as plt
import pickle
Importing Dataset
Now that we have imported all the necessary libraries, let us now import our dataset.
#Here we are importing our dataset and storing it in a variable called df. Then we are viewing the first 5 rows of that dataset.

df=pd.read_csv('500_Person_Gender_Height_Weight_Index.csv')
df.head()
Output:
| Gender | Height | Weight | Index | |
|---|---|---|---|---|
| 0 | Male | 174 | 96 | 4 |
| 1 | Male | 189 | 87 | 2 |
| 2 | Female | 185 | 110 | 4 |
| 3 | Female | 195 | 104 | 3 |
| 4 | Male | 149 | 61 | 3 |
As we can see, we have 3 independent variables which are Gender, Height and Weight and one dependent variable which is Index.
Label Encoding
We can see that the Gender variable is in string format, so we need to convert it to numbers. We will do this using the LabelEncoder library in sklearn.
Let us now encode our Gender variable.
#Here we are encoding the Gender variable.

from sklearn import preprocessing
le = preprocessing.LabelEncoder()
df.Gender=le.fit_transform(df.Gender)
df.head()
Output:
| Gender | Height | Weight | Index | |
|---|---|---|---|---|
| 0 | 1 | 174 | 96 | 4 |
| 1 | 1 | 189 | 87 | 2 |
| 2 | 0 | 185 | 110 | 4 |
| 3 | 0 | 195 | 104 | 3 |
| 4 | 1 | 149 | 61 | 3 |
As we can see that the Gender variable is now encoded. Male has been assigned the code 1 and female has been assigned the code 0.
Model
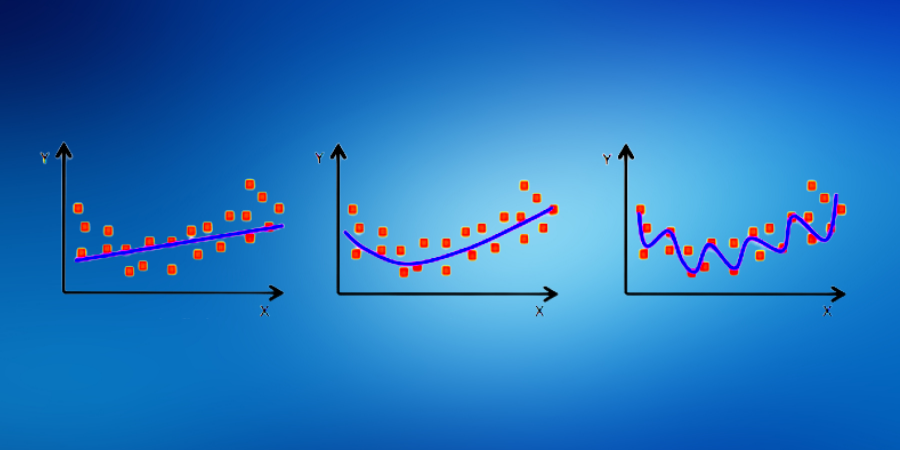
Let us now create our model. For the purposes of this demonstration of flask, we will use a linear regression model.
#Here we are creating, training and testing a very simple LinearRegression model.

from sklearn.linear_model import LinearRegression
reg = LinearRegression().fit(df.drop(['Index'],axis=1),df['Index'])
reg.score(df.drop(['Index'],axis=1),df['Index'])
Output:
0.8260932372756102
As we can see that we have achieved a score of 82.609%.
Saving
Let us now save our model. For this we will be using the pickle library.
#Here we are saving our model

import pickle
pickle.dump(reg,open('model.pkl','wb'))
We have now saved our model. The name of the model file is model.pkl.
Let us now deploy this using flask.
Template
Firstly let us create the website.
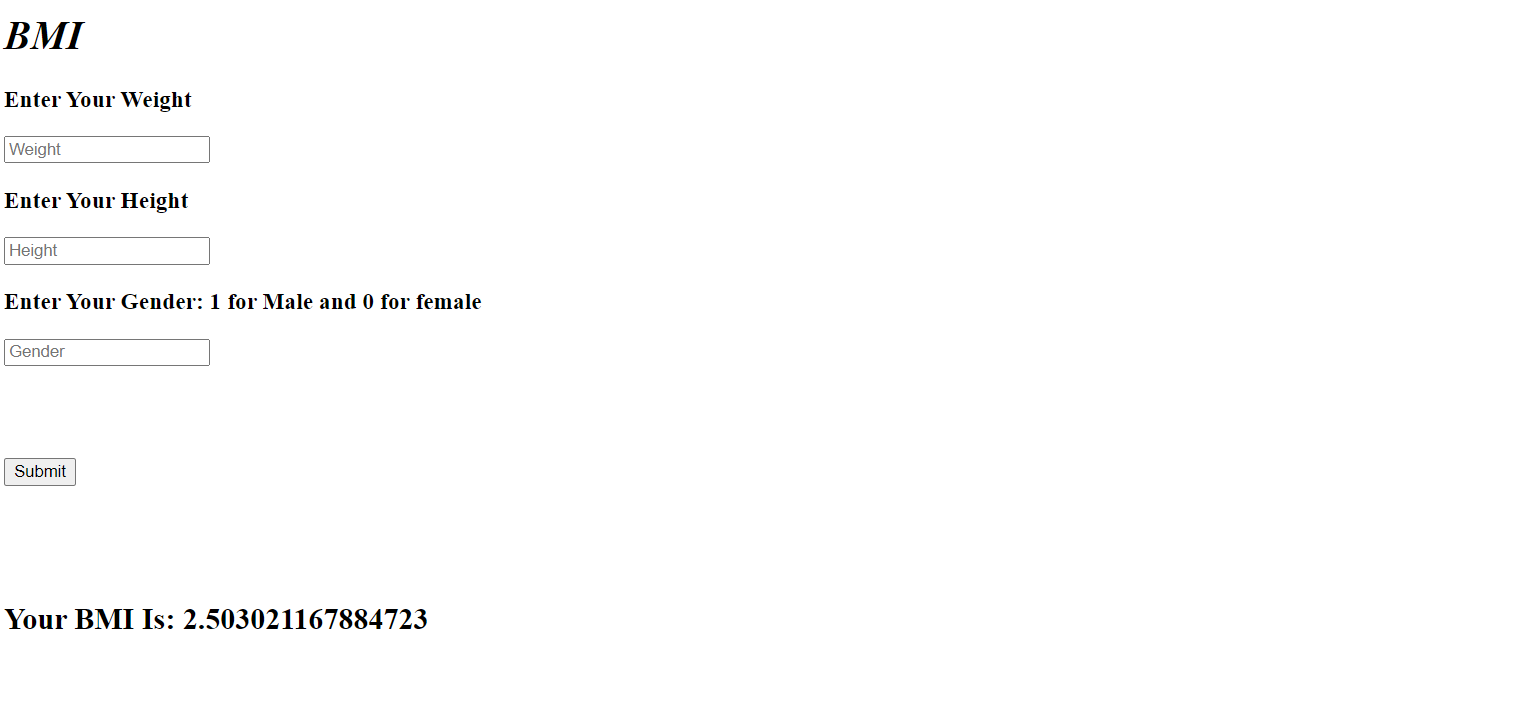
The below HTML code shows the layout of our website. This is a very simple layout. We have created 3 inputs which are weight, height and gender. This will be entered by the user.
<!DOCTYPE html>
<html>
<head>

    <title>BMI</title>
</head>

<body>
    <h1><b><i><em>BMI</em></i></b></h1>
<form method="POST",action="/">

    <div>
    <div>
        <h3>Enter Your Weight </h3>
    <input type="number" name="weight" placeholder="Weight" >
    </div>
    <div >
        <h3>Enter Your Height</h3>
    <input type="number" name="height" placeholder="Height">
    </div>
    <div >
        <h3>Enter Your Gender: 1 for Male and 0 for female </h3>
    <input type="number" name="gender" placeholder="Gender" >
    </div>
    </div>


    <div>
    <input type="submit">
    </div>

    {% if bmi %}
        <h2> Your BMI Is: {{bmi}} </h2>
    {% endif %}
</form>
</body>
</html>
Now our html file is created. We are saving it with the name 'index.html'. A requirement of flask is that all our templates, which are the html files, need to be moved in a folder called 'templates'.
Flask Deployment
Now that we have created our template, let us deploy our model using flask.
We will create a python file.
#Here we are importing flask

from flask import Flask, request, render_template

import sklearn
import joblib
import pandas as pd
import numpy as np

#We are creating an object of Flask with the name 'app'
app = Flask(__name__)

#Here we are loading our regression model using joblib.
model = joblib.load("model.pkl")


@app.route("/")
def home():
    return render_template("index.html")

@app.route("/",methods=["POST"])
def predict():
    if request.method=="POST":
        Weight=request.form['weight']
        Height=request.form['height']
        Gender=request.form['gender']

        prediction=model.predict([[Gender,Height,Weight]])
        output=round(prediction[0],2)
    return render_template("index.html",bmi=prediction[0])

if __name__ == "__main__":
    app.run(debug=True)
At every stage we need to define the route that we need to take in flask. This is done using the route function. So, when we open our webpage we are going to render the index.html template.
Now, when the form is submitted we are going to fetch the inputs entered by the user and store it in 3 varia.bles. After that we are going to predict the BMI index based on the input.
This is how we can deploy our machine learning model into production in the browser by using the flask framework.
Conclusion
In this article, we have seen how to deploy a model using the flask library. Also, we have demonstrated how to use the flask library to deploy the machine learning model. We hope this tutorial will help deploy your projects. Happy Learning!